May 18, 2008

When This You See, Remember Me.

Whenever I looked at the Santos Doll stamp, this saying kept going through my head. I finally realized that it was from the cover of the autograph book that I had as a child. Remembering is important. This card holder can provide a perfect place for you to store the cards that you plan to send or those you receive for special occasions, a way to help you "remember."
You'll find the details of how I used Adirondack Dye Ink Pads to transform readily available Kraft envelops on page 80 of the June 2008 issue of Crafts 'n Things. The Exiled Occasion Phrases were the perfect stamps for my dividers. If you don't own a binding system - I used my RubiCoil, use your imagination to bind your own special place for remembrances.

1 LRoberts Remember Card Keeper Front

Stamps: Santos Doll by Invoke Arts, Wooden Ruler Design by Postmodern Design, Remember by Stampa Rosa, Artista Quad by Stampendous, and Exiled Occasion Phrases by La Pluma

Faux Encaustic Magic

Encaustic painting has long held a fascination for me. When I discovered how to emulate this effect with Adirondack Color Wash, I was thrilled. You'll find detailed instructions for these cards in the June 2008 issue of Crafts 'n Things. You'll be amazed at how easy it is to get fabulous results.
LROBER~1
Stamps: Car Cube 1942 Ford by B Line Designs; Societe du Louvre by Just for Fun
LRoberts Faux Encaustic 1942 Ford Color Wash Card

Cherish This ATC Holder

If you agreed with my "gaudy cute" assessment of the glitzy orange and purple ATC holder in the prior post, I'm sure that you'll find "Betty" one of the sweetest little girls you've ever seen. ("Betty" and the "Cherish" sentiment are both stamps by B Line Designs.) This tin was a featured ATC holder in the April 2008 issue of Crafts 'n Things.

Cherish ATCs 1
Check out the details on page 65 of how I used Adirondack Acrylic Paint Dabbers, Adirondack Dye Ink Pads, Stickles Glitter Glue, Inkssentials Crackle Accents, Perfect Pearls, and Suze Weinberg's Beadazzles to make one sweet container for your ATCs.

Storing Your ATCs with Glitz and Sparkle

I'm afraid that my photo doesn't adequately show the details of this ATC holder. (That's my hand in the picture, and I couldn't hold the chain and get the right angle to spotlight the glitz at the same time.) When I finished this project, my evaluation was "gaudy cute." You'll find a better picture on page 65 in the April 2008 issue of Crafts 'n Things.
Purse 1
After purchasing a mini album from the dollar bin at the craft store, I realized it was the perfect size for ATC storage. All it took was Adirondack Acrylic Paint Dabbers, Swirly Element by Postmodern Design, Stickles Glitter Glue, and jewels for added bling. By adding the hibiscus eyelets and ball chain that I colored to match with Adirondack Alcohol Metallic Gold Mixative, the mini album was transformed into a little purse, the perfect size for transporting ATCs. Check out the details to make your own "gaudy cute" holder in Crafts 'n Things.

May 4, 2008

Playing with the Bandanna Technique

When I first saw Robin Beam's Bandanna technique, I was enchanted. (Robin is Director of Education for Ranger Industries and a creative wonder. Scroll down to the plaque in the middle of her post to see what I'm talking about.) I've always been a doodler, and I found the combination of doodling and stamping fascinating. I knew I had to give it a try.

I used the Wrinkle Free Distress Technique to create my backgrounds but that is optional. To play, you'll just need a few stamps, Ranger Jet Black Archival Ink, a Ranger Inkssentials White Pen, and a black pen. After stamping all my images, this was a perfect project to pull out when I only had a few minutes to work. I must say that I found this to be a relaxing technique.

While Robin's projects clearly reminded me of bandanna prints, mine took a slightly different twist. This is an opportunity to do it your way! You can let a lot of background show as with my dragonfly card or leave little showing as with my crow. (It could be that I just don't know when to stop!)


Above Left: Magenta Dragonfly, Hero Arts "Flower" Asterisks, and Inque Chanteuse

Above Right: Invoke Arts Sweet Tweet, Hero Arts "Flower" Asterisks and Circles, Wisecracks Diamond, Magenta Pointed Star, and Autumn Leaves Flourishes V2


Above all stamps by Autumn Leaves: Nature - Butterfly, Flourishes, and Flourishes V2 (Notice the subtle stippling inside the butterfly on the left.)


Above: Autumn Leaves Nature and Magenta Pointed Star


Above: Inque Chanteuse, Hero Arts "Flower" Asterisks, and Magenta Pointed Star

Here are more examples of Robin's bandanna technique. While Robin is recuperating from knee surgery, she's posted a contest for Bandanna Technique cards and more Bandanna ideas. Check out the details here. This could be a great way to get the creative juices going, and there are some great prizes.

Wrinkle Free Distress Ink Background

Some people call it burnout. What do you do when inspiration is lacking? This has been a recent topic of discussion in our stamping group.

Life can get in the way of creativity, and this can be a busy time of the year. Spring may mean gardening chores, the demands of children's sports, and for many a frantic race to the end of the school year. At those times when life is busy - and this is a busy time for me, I know that quality time in my studio is out of the question. When this is the case, one of the things that I like to do is to create backgrounds for future projects. This is a great technique for those times.

You'll need
Ranger Tim Holtz Distress Ink Pads and a surface to ink. Today, I used 140 lb. watercolor paper because I plan to make postcards with my backgrounds. Manila shipping tags work well too. You'll also need your Ranger Non-Stick Craft Sheet, a spray bottle filled with water, and a heat gun. Here's how to make these backgrounds.

  1. Rub several colors of Distress Ink Pads directly on your Non-Stick Craft Sheet without overlapping the inks. Liberally spritz the inks with water.

  2. Drag your paper through the ink until you achieve the coverage you desire. (Initially, you may “twist” the tag in the ink. Do not continue to twist the pad or the colors will become muddy.) Heat set.

  3. Tap uncolored sections in remaining ink for layers of color. (Spritz Non-Stick Craft Sheet if needed.) Heat set between layers.

  4. As an option, flick drops of water onto your background paper. Heat set.

Here are two of the backgrounds I made today.


I used Spiced Marmalade, Worn Lipstick, and Broken China for the background on the left. For the background on the right, I used Mustard Seed, Aged Mahogany, Fired Brick, and Vintage Photo Distress Inks.

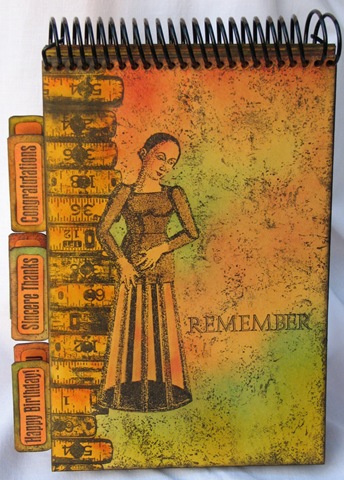
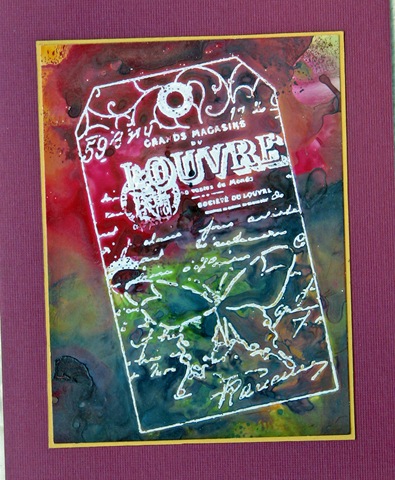
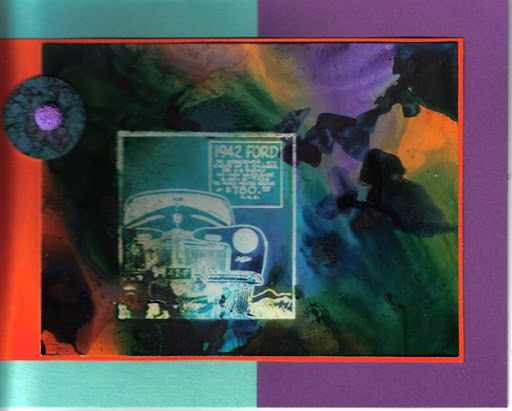
With backgrounds in hand, let the real fun begin!