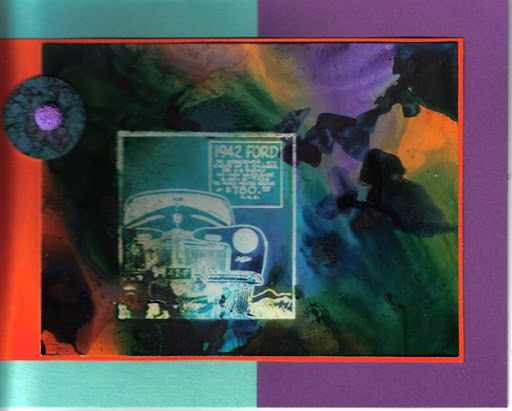
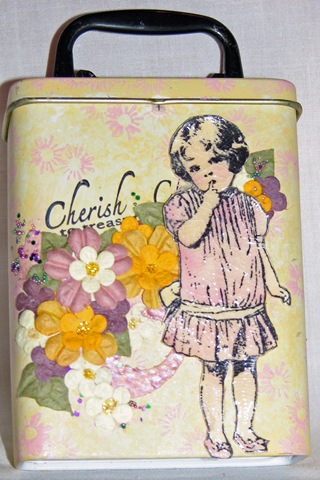
I've always thought of my mother as a "real" artist because she worked in oils, acrylics, and watercolors. Years later, I still remember watching her coach the last bit of color from those precious tubes. She would then use the same technique that I have used below to create rich, vibrate backgrounds.
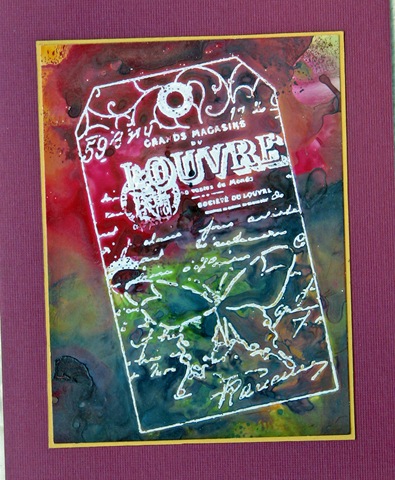
In my first card, you can see the beauty of the Claudine Hellmuth Studio Paints with no additional adornment. This is a background that can definitely stand on its own.
 Next, see what happens when you add embossing with Adirondack® Pigment Ink and Christmas Tree Embossing Antiquities™. Definitely an appropriate background for this sophisticated stamp, Abundance by B Line Designs.
 For the details of this technique, see page 59 of the April 2010 issue of Crafts ‘n Things.
You may have thought of masking tape as a standard artist supply, but have you considered using it to create your backgrounds? Look at these two cards from my Better Backgrounds column in the June 2009 issue of Crafts ‘n Things.
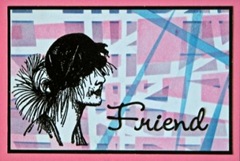
 At first glance, I think you’d be hard pressed to say how these backgrounds were created. Tape and Adirondack® Dye Ink pads are the answer. The details are on pages 92-93.
The two great stamps, Sherrie and Sharon, by B Line Designs were stamped with a Big & Bossy™ Two-tone Embossing Pad and embossed with Super Fine Detail™ Powder. (You could achieve the same result with the newer Adirondack® Pigment Inks.) This is also a perfect background for rub-ons as demonstrated by the addition of “thanks” (Creative Imaginations) to the card stamped with Sharon’s veiled image.
Here’s an example with colors that do not overlap. (Stamps: Time Flies, Stampers Anonymous; Eternity Slab, Postmodern Design. Nick Bantock™ Dye Pads: Chartreuse, Deep Turquoise, Vermillion Lacquer, Damson Plum, Chrome Yellow.)
At first glance, I think you’d be hard pressed to say how these backgrounds were created. Tape and Adirondack® Dye Ink pads are the answer. The details are on pages 92-93.
The two great stamps, Sherrie and Sharon, by B Line Designs were stamped with a Big & Bossy™ Two-tone Embossing Pad and embossed with Super Fine Detail™ Powder. (You could achieve the same result with the newer Adirondack® Pigment Inks.) This is also a perfect background for rub-ons as demonstrated by the addition of “thanks” (Creative Imaginations) to the card stamped with Sharon’s veiled image.
Here’s an example with colors that do not overlap. (Stamps: Time Flies, Stampers Anonymous; Eternity Slab, Postmodern Design. Nick Bantock™ Dye Pads: Chartreuse, Deep Turquoise, Vermillion Lacquer, Damson Plum, Chrome Yellow.)
 For a completely different look, tear your tape to create the shape of your choice. After creating the grid background with tape and Clover Adirondack® Dye Ink, I added the flower effect with tape and Wild Plum ink. (Stamp: Printer’s Mark, LaPluma; Big & Bossy™ Two-tone Embossing Pad; Bottle Adirondack® Embossing Powder.)
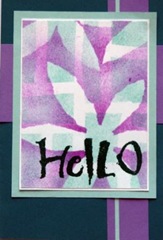 Want to try something different? Let your tape be your guide!
The Rubber Stamper asked me to submit several layouts for the July 2007 issue, but when I found out that only one page would be published from each designer, I asked them to use the "Secret" layout. I'm not sure what her older sister was doing - probably telling jokes or subtlely tickling, but this was one of the few photos of our younger daughter with her mouth open when she had braces. You can follow the progression of the photo shoot from the top to bottom right to explosive laughter on the left.

 I created the look of mulberry paper with the Inkadinkado stamp and Ranger Adirondack Purple Twilight and Eggplant Inks. By lightly misting the inked stamp with water, the effect is a watercolor look. You may continue to mist and stamp without reinking as long as ink remains on your stamp. Then heat set. A Filigree Heart (The Artful Stamper) is stamped under the letter "e" in secret in the same way.
I stamped the Large Romantic Swirl (B Line Designs) onto a transparency with a Purple Twilight Ranger Adirondack Acrylic Dabber, and "Secret" (Making Memories Fab Font Alphabet) was stamped with a Pitch Black Paint Dabber. The focal picture was edged with Cool Perl and Purple Twilight Paint Dabbers. Tip: Use Ranger's Inkssentials Matte Accents in attach transparencies. You only need a dot or two under the paint where it won't be noticed.